huisstijl-JBP-500
DINO-beeldmerk website kopiëren

Motion blur in daylight

Photographing water with motion blur in full daylight

Playing with water...

Photography & text: John Baggen

Recording details

Without motion blur

Cokin black filter and long shutter speeds

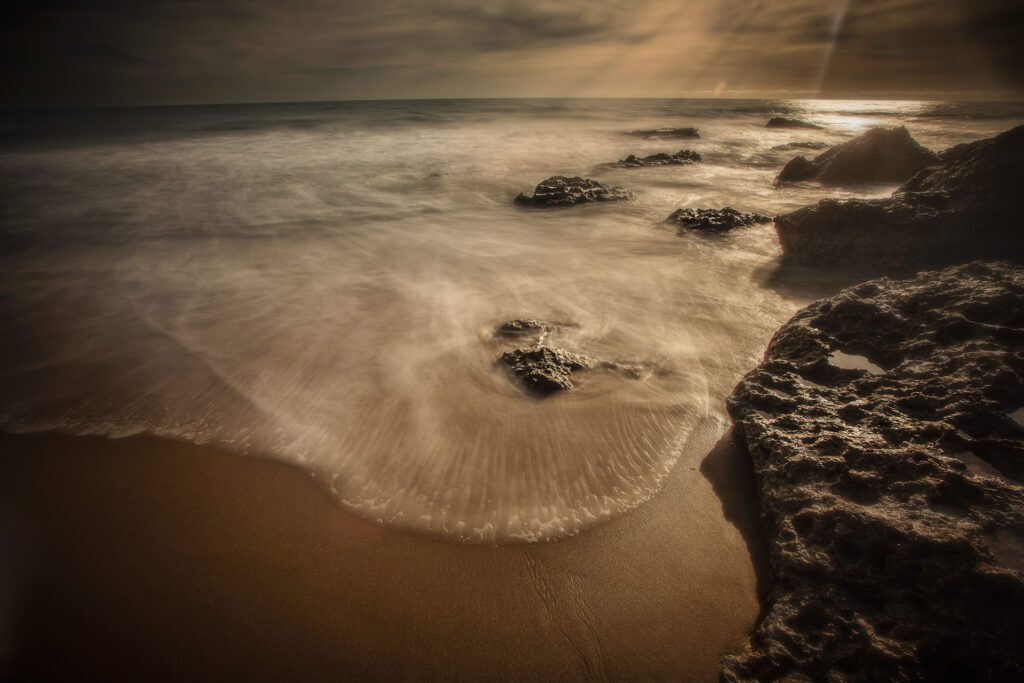
Photography is an art that allows us to capture and share the beauty of the world. Water is one of the most fascinating subjects to photograph. By using a black filter and long shutter speeds, we can capture water in a way that would not otherwise be possible. In this article, we will look at how to photograph water with motion blur in full daylight.

Your camera is set to 'M'

First, it is important to understand how shutter and aperture values work. When shooting, the camera determines exposure automatically or manually, depending on factors such as lighting conditions, ISO setting, aperture and shutter speed.
In this case, we want to create motion blur in our photos through long shutter speeds.

This means we have to play around with our aperture and ISO settings to make sure enough light comes in during our exposure. All settings are set to “manual. No autofocus and no automatic shutter speed or aperture

To capture water with motion blur, we also need a black filter. This filter blocks most of the light coming through our lens, allowing us to use longer exposure times without getting overexposed photos.

Conclusion

Photographing water with motion blur is a challenging but very satisfying process. Using long shutter speeds and black filters, we can create beautiful and unique photographs that would not otherwise be possible. It is important to be patient and keep experimenting until you achieve the desired results. Good luck!

Good luck and if you have any questions? Just comment below on the photo.

Step 1: Choose your composition

The first step in photographing water with motion blur is to choose your composition. Find a stationary object in the foreground, such as a rock or branch, to emphasize the contrast between stillness and motion. Place your camera on a tripod and make sure it is stable.

Step 2: Mount the black filter

Attach the black filter to your lens before you start shooting. Keep in mind that when the filter is attached, everything in the viewfinder will be completely dark.

Step 3: Measure the light

Now measure the light using a light meter to determine the correct exposure time. This is important because our black filter blocks a lot of light and we wouldn’t get enough exposure otherwise.

I do that with a Gossen Light Meter but you can also make a series experimentally and use the light meter in your camera.

Step 4: Create different exposures

Start shooting and take several photos with different shutter speeds (from one second to five seconds, for example) to see which exposure works for you. After all, water does what it wants and can be different all the time.

Keep experimenting until you achieve the desired results.
Once you are done shooting, you can begin post-processing in software such as Adobe Lightroom or Photoshop to take out any flaws that are still present.